
Back when I was doing my time on therapeutic diets, I desperately craved a bit of food normalcy in the form of getting to munch on something crunchy while I watched a movie with the fam. I know it’s possible to watch a movie without eating anything, but it just didn’t feel right to go into movie night snack-less!
Popcorn wasn’t allowed. Potato chips were out. In fact, anything from a bag at the store was a no-no thanks to some kind of forbidden oil or taboo flavoring. And thus began my love of homemade baked veggie chips! They are crispy, they are salty, and they are something I can happily munch on while we watch Frozen for the 495th time. And they come together in about 45 minutes, thanks to the use of your trusty mandoline slicer.
The Ultimate Guide to Healthy School Lunches
We’ve packed (pun intended!) all our knowledge from years of making school lunches into one digital master guide!
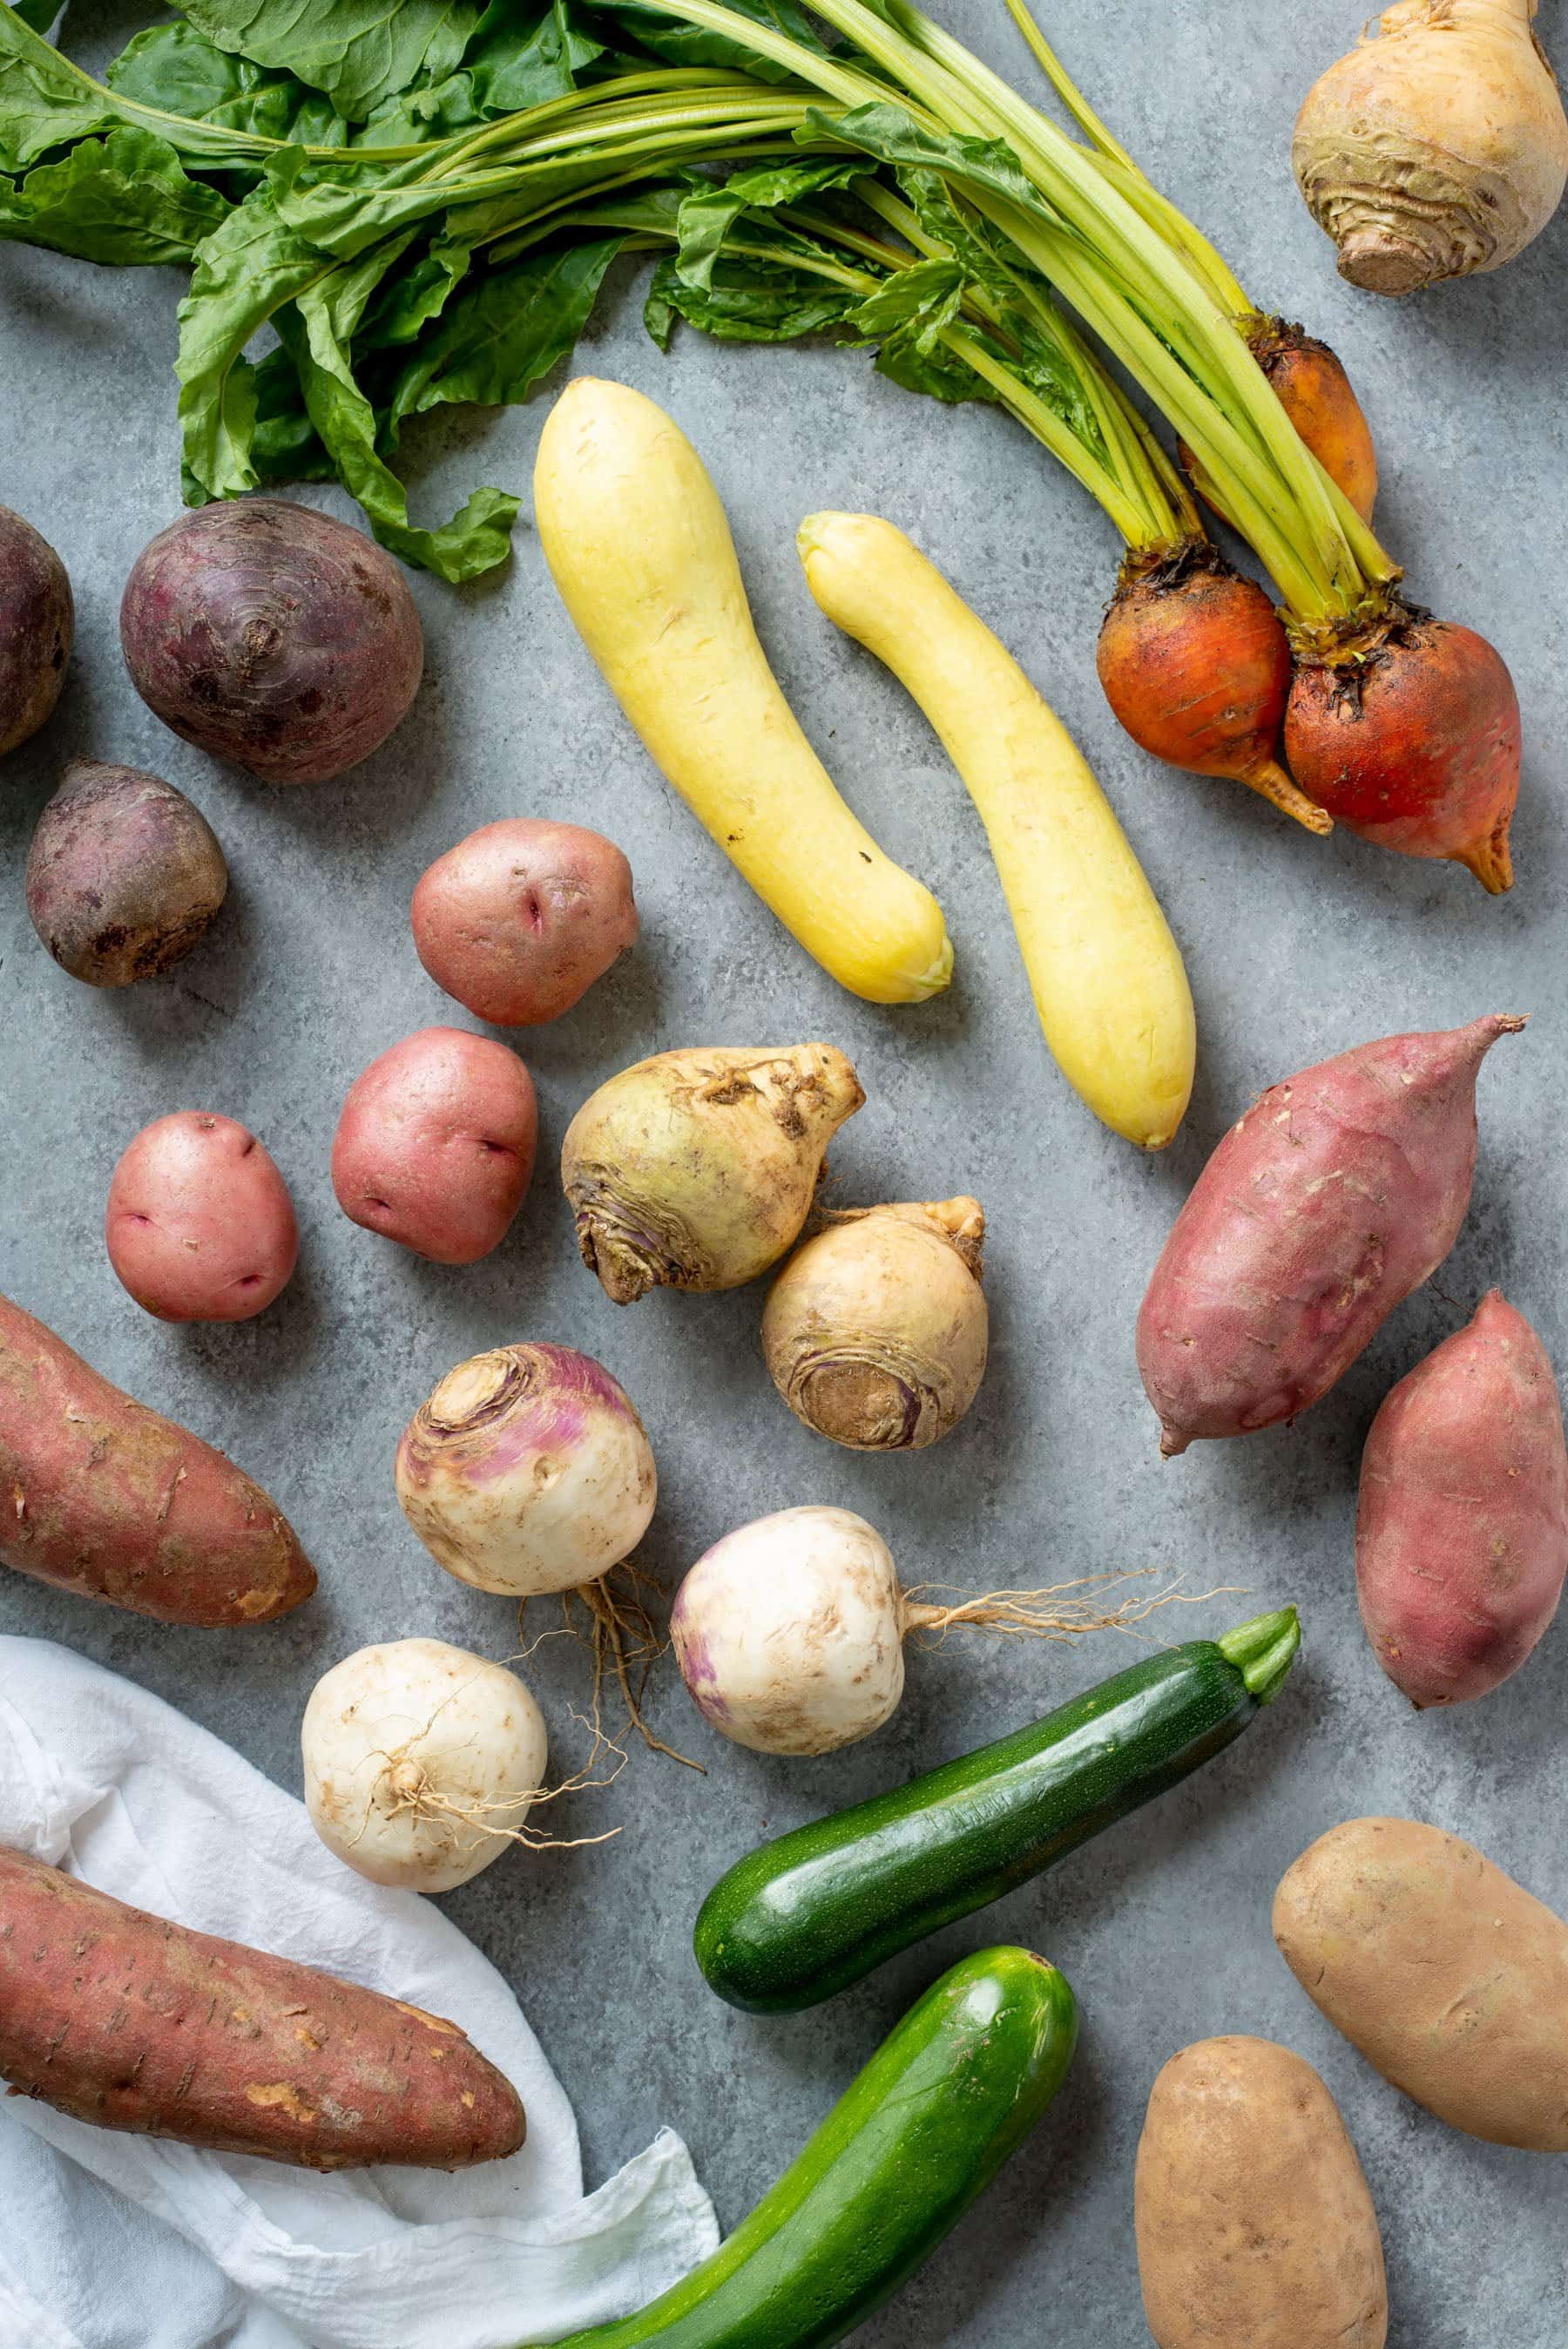

What vegetables can I turn into veggie chips?
I’ve made baked vegetable chips using all kinds of veggies. Sweet potatoes, beets, yellow squash, zucchini, rutabagas, parsnips, potatoes, oh my! And the only real difference in preparing all of them is to separate them into two categories: high water content (think zucchini, squash, beetroot) and low water content (think sweet potatoes, rutabaga, taro).
For the low water veggies, they just head straight into the oven and come out crunchy and awesome. For the high water veggies, you salt them for a bit to release some of the extra moisture, and that helps them crisp up nicely! Both types of veggies get a light coating of avocado oil to help them crisp up a bit in the oven.
Do I have to use oil?
You can do these chips oil-free, but I find that they get more of a freeze-dried texture (you know, that kinda airy/powdery texture) instead of crispy like a chip. Not bad, but definitely different than your standard store-bought veggie chips! A little oil goes a long way here, so don’t be afraid to use it!
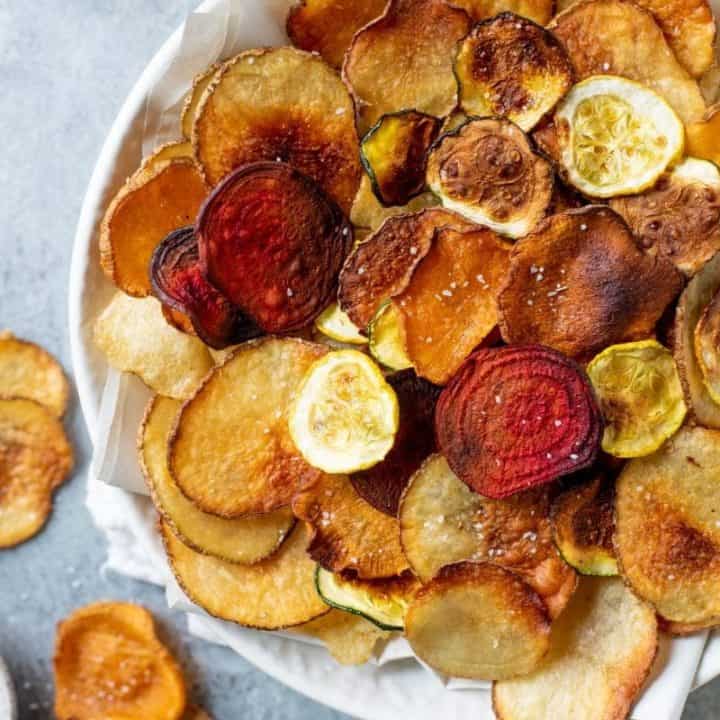
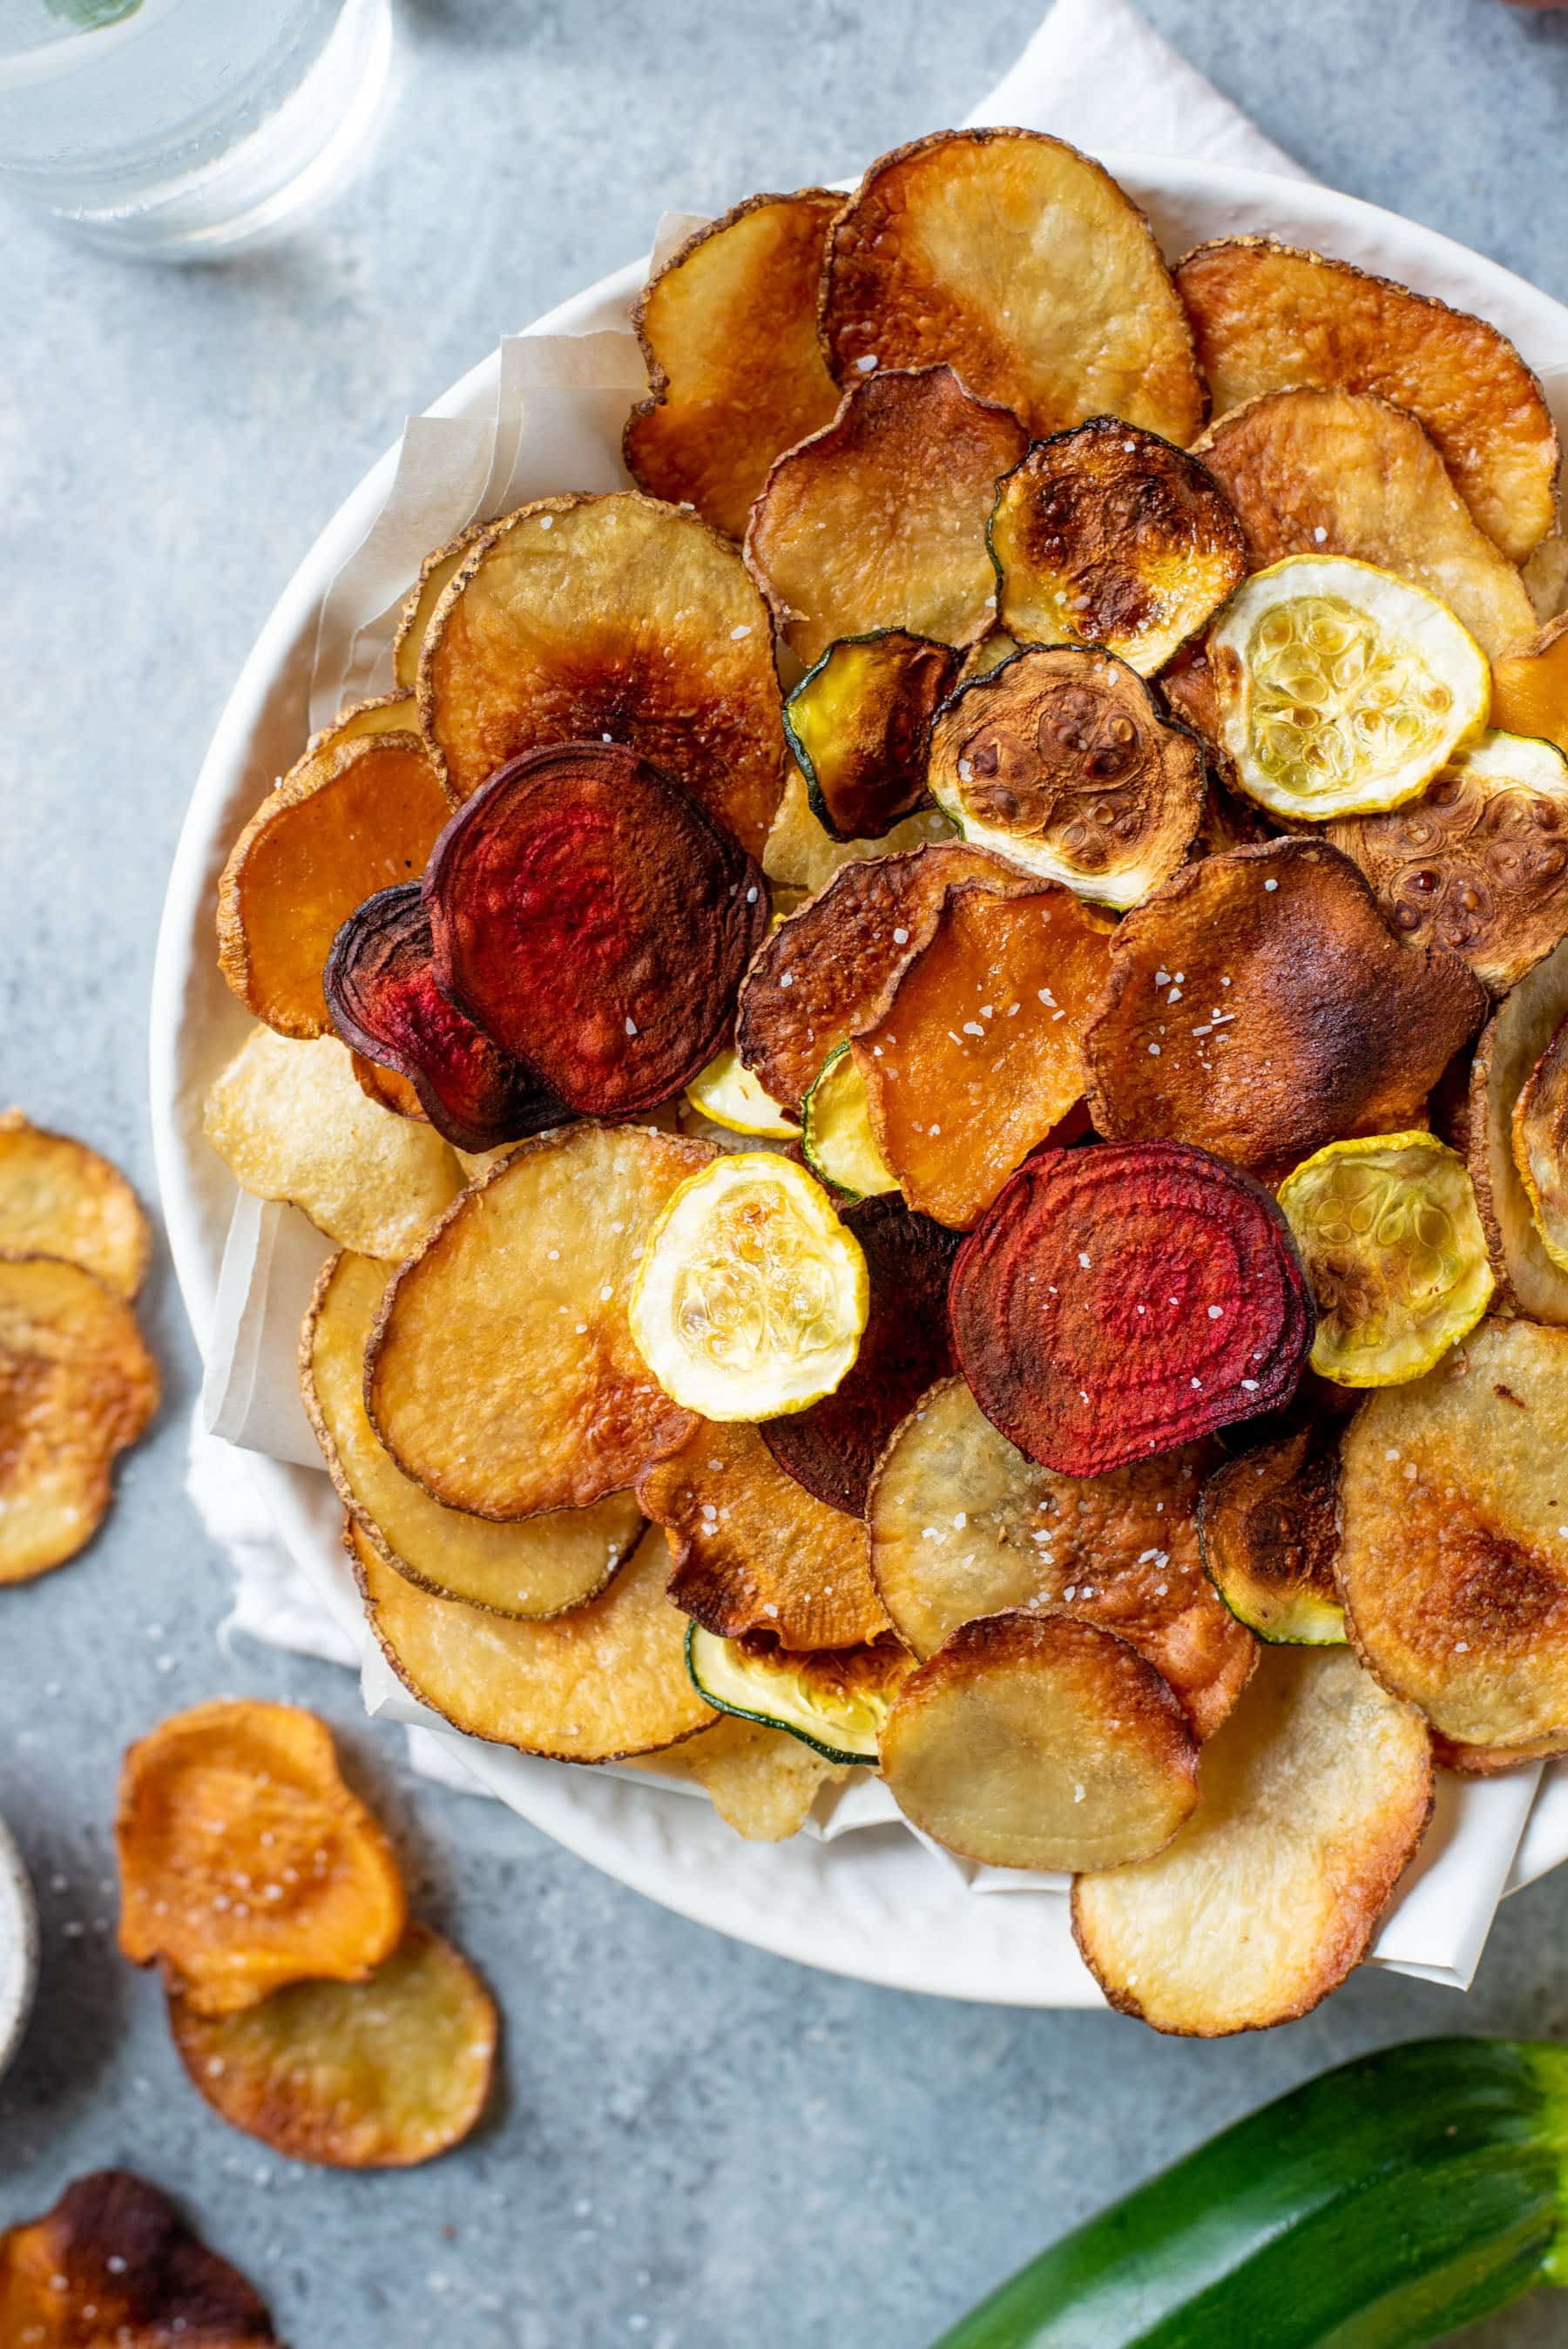
Crispy Baked Vegetable Chips
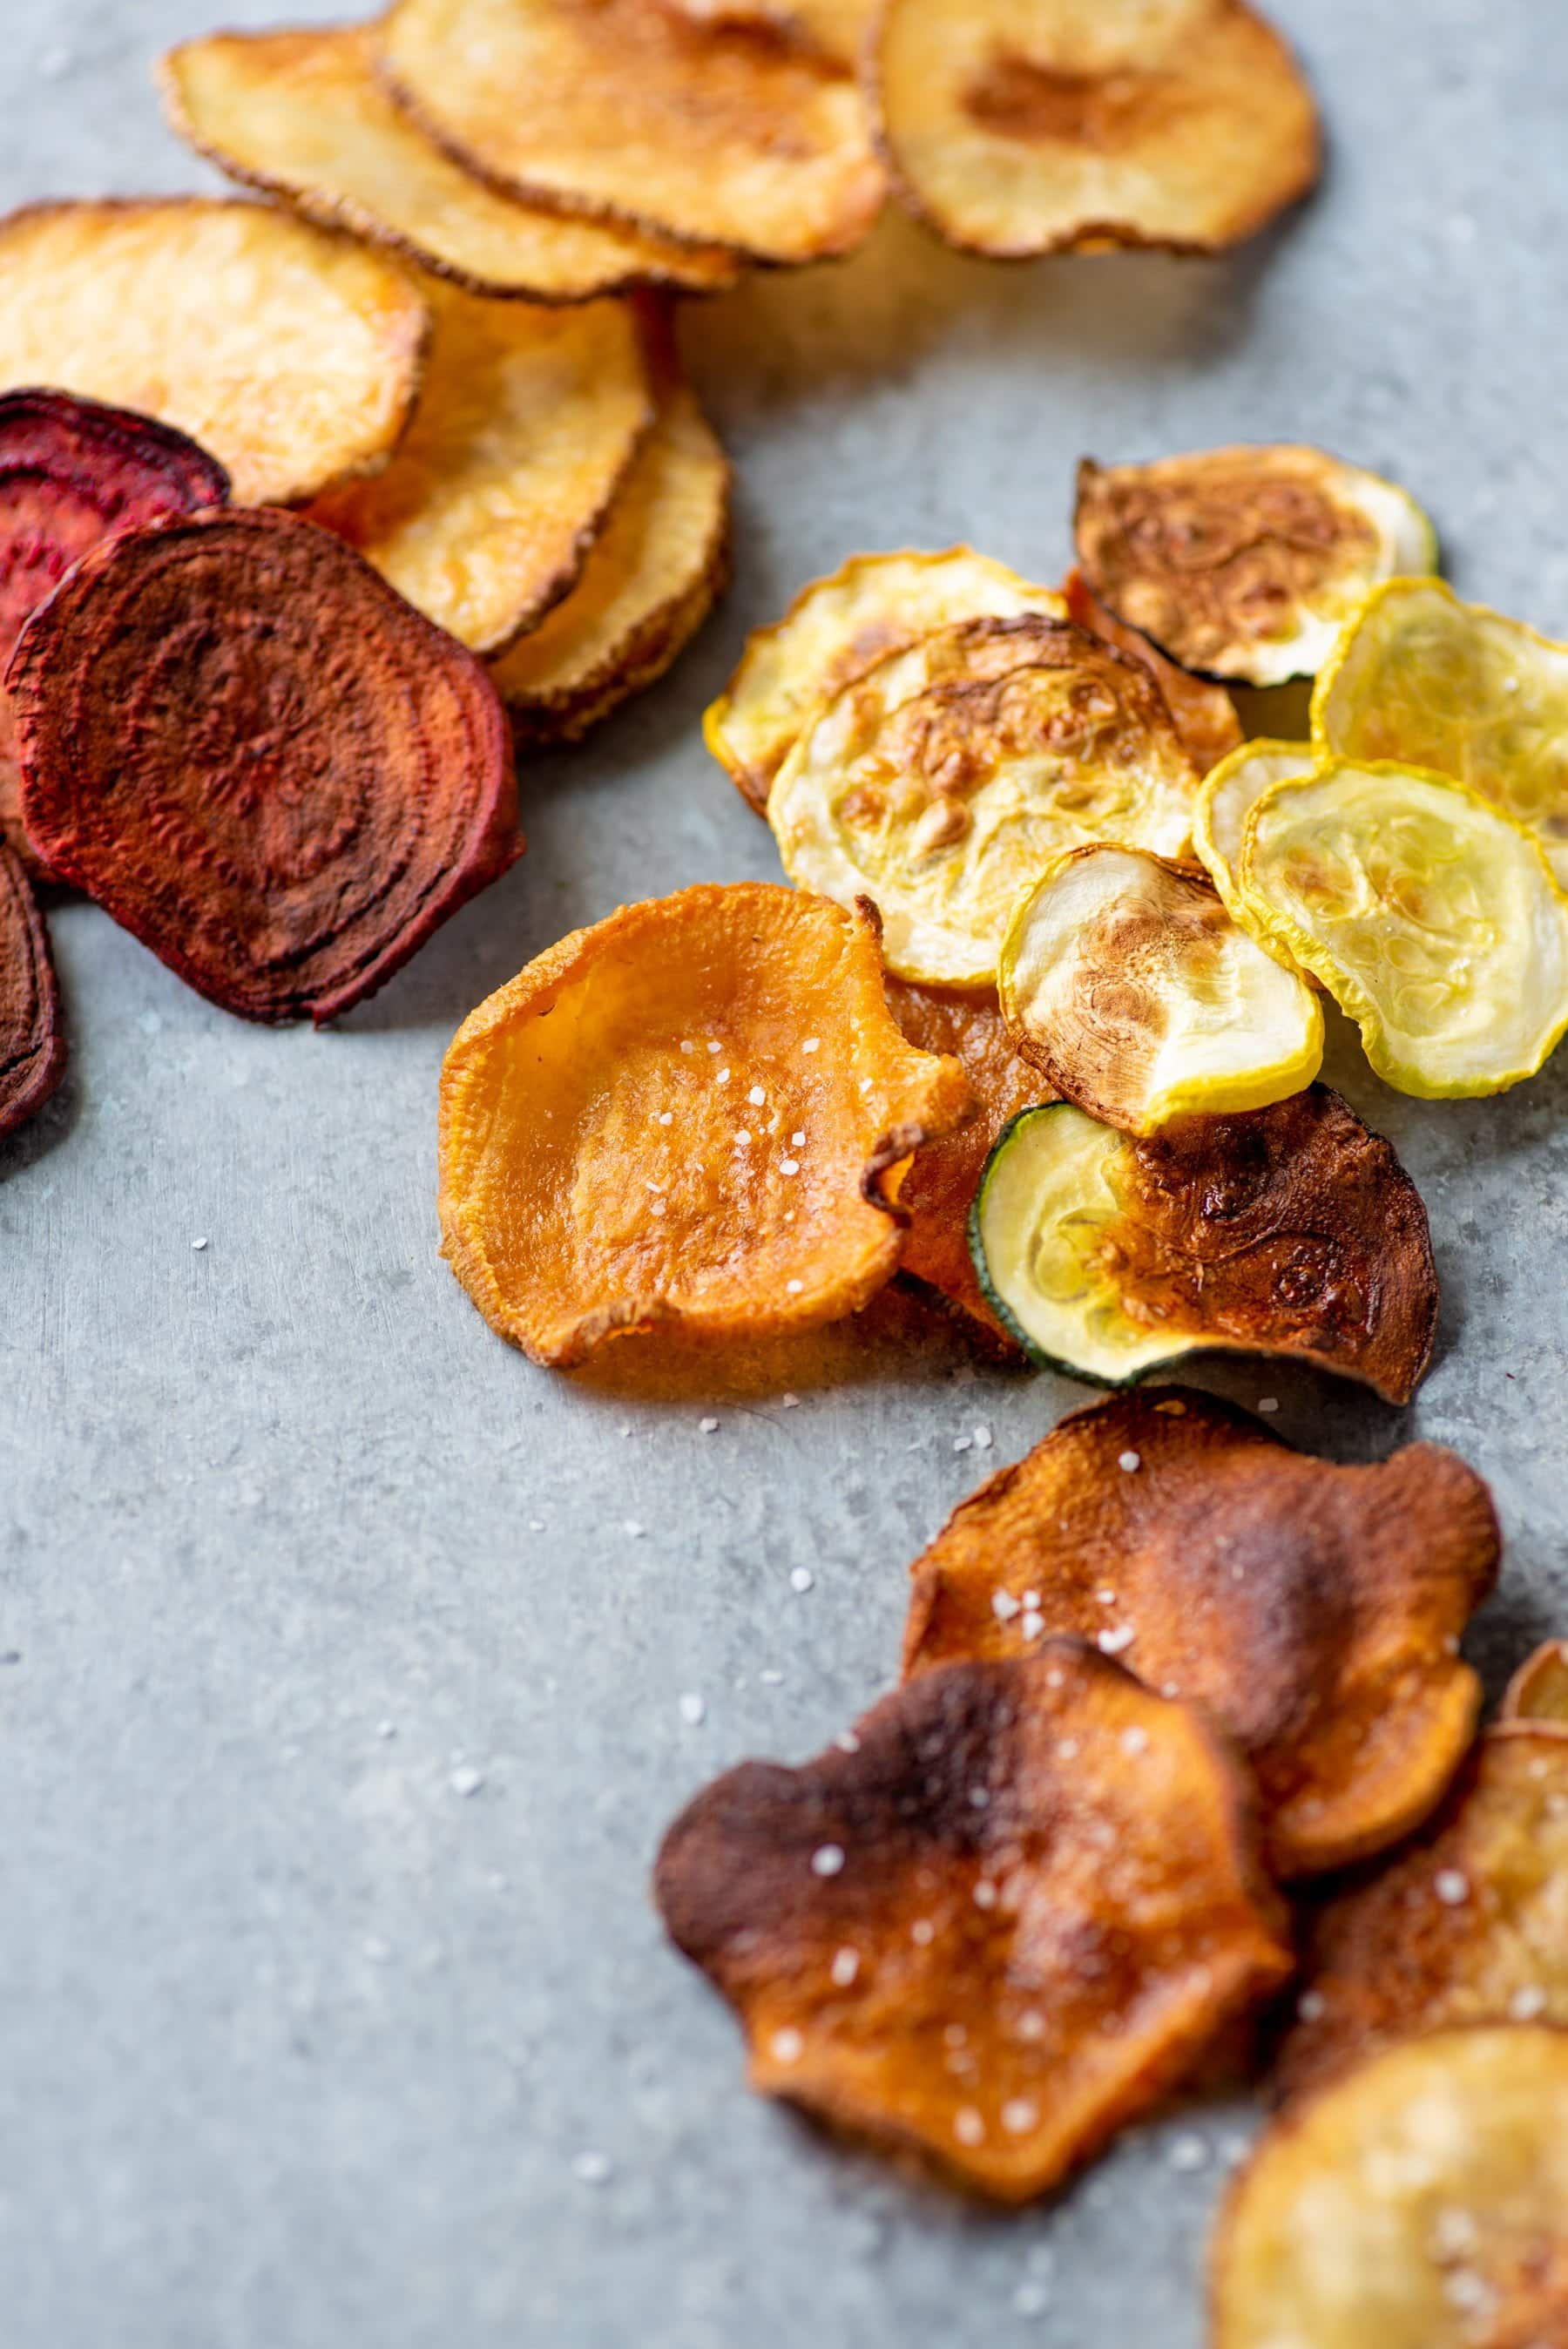
These Crispy Baked Vegetable Chips come together in just 30 minutes, and are the perfect crunchy snack for lunch boxes or movie nights. Naturally vegan and gluten-free.
Ingredients
- Sweet potatoes, red or golden beets, zucchini, summer squash, taro, rutabaga, white potatoes, or a combination thereof
- Fine sea salt
- Avocado oil
Instructions
- Preheat oven to 300°F. Line two baking sheets with parchment paper, and set aside.
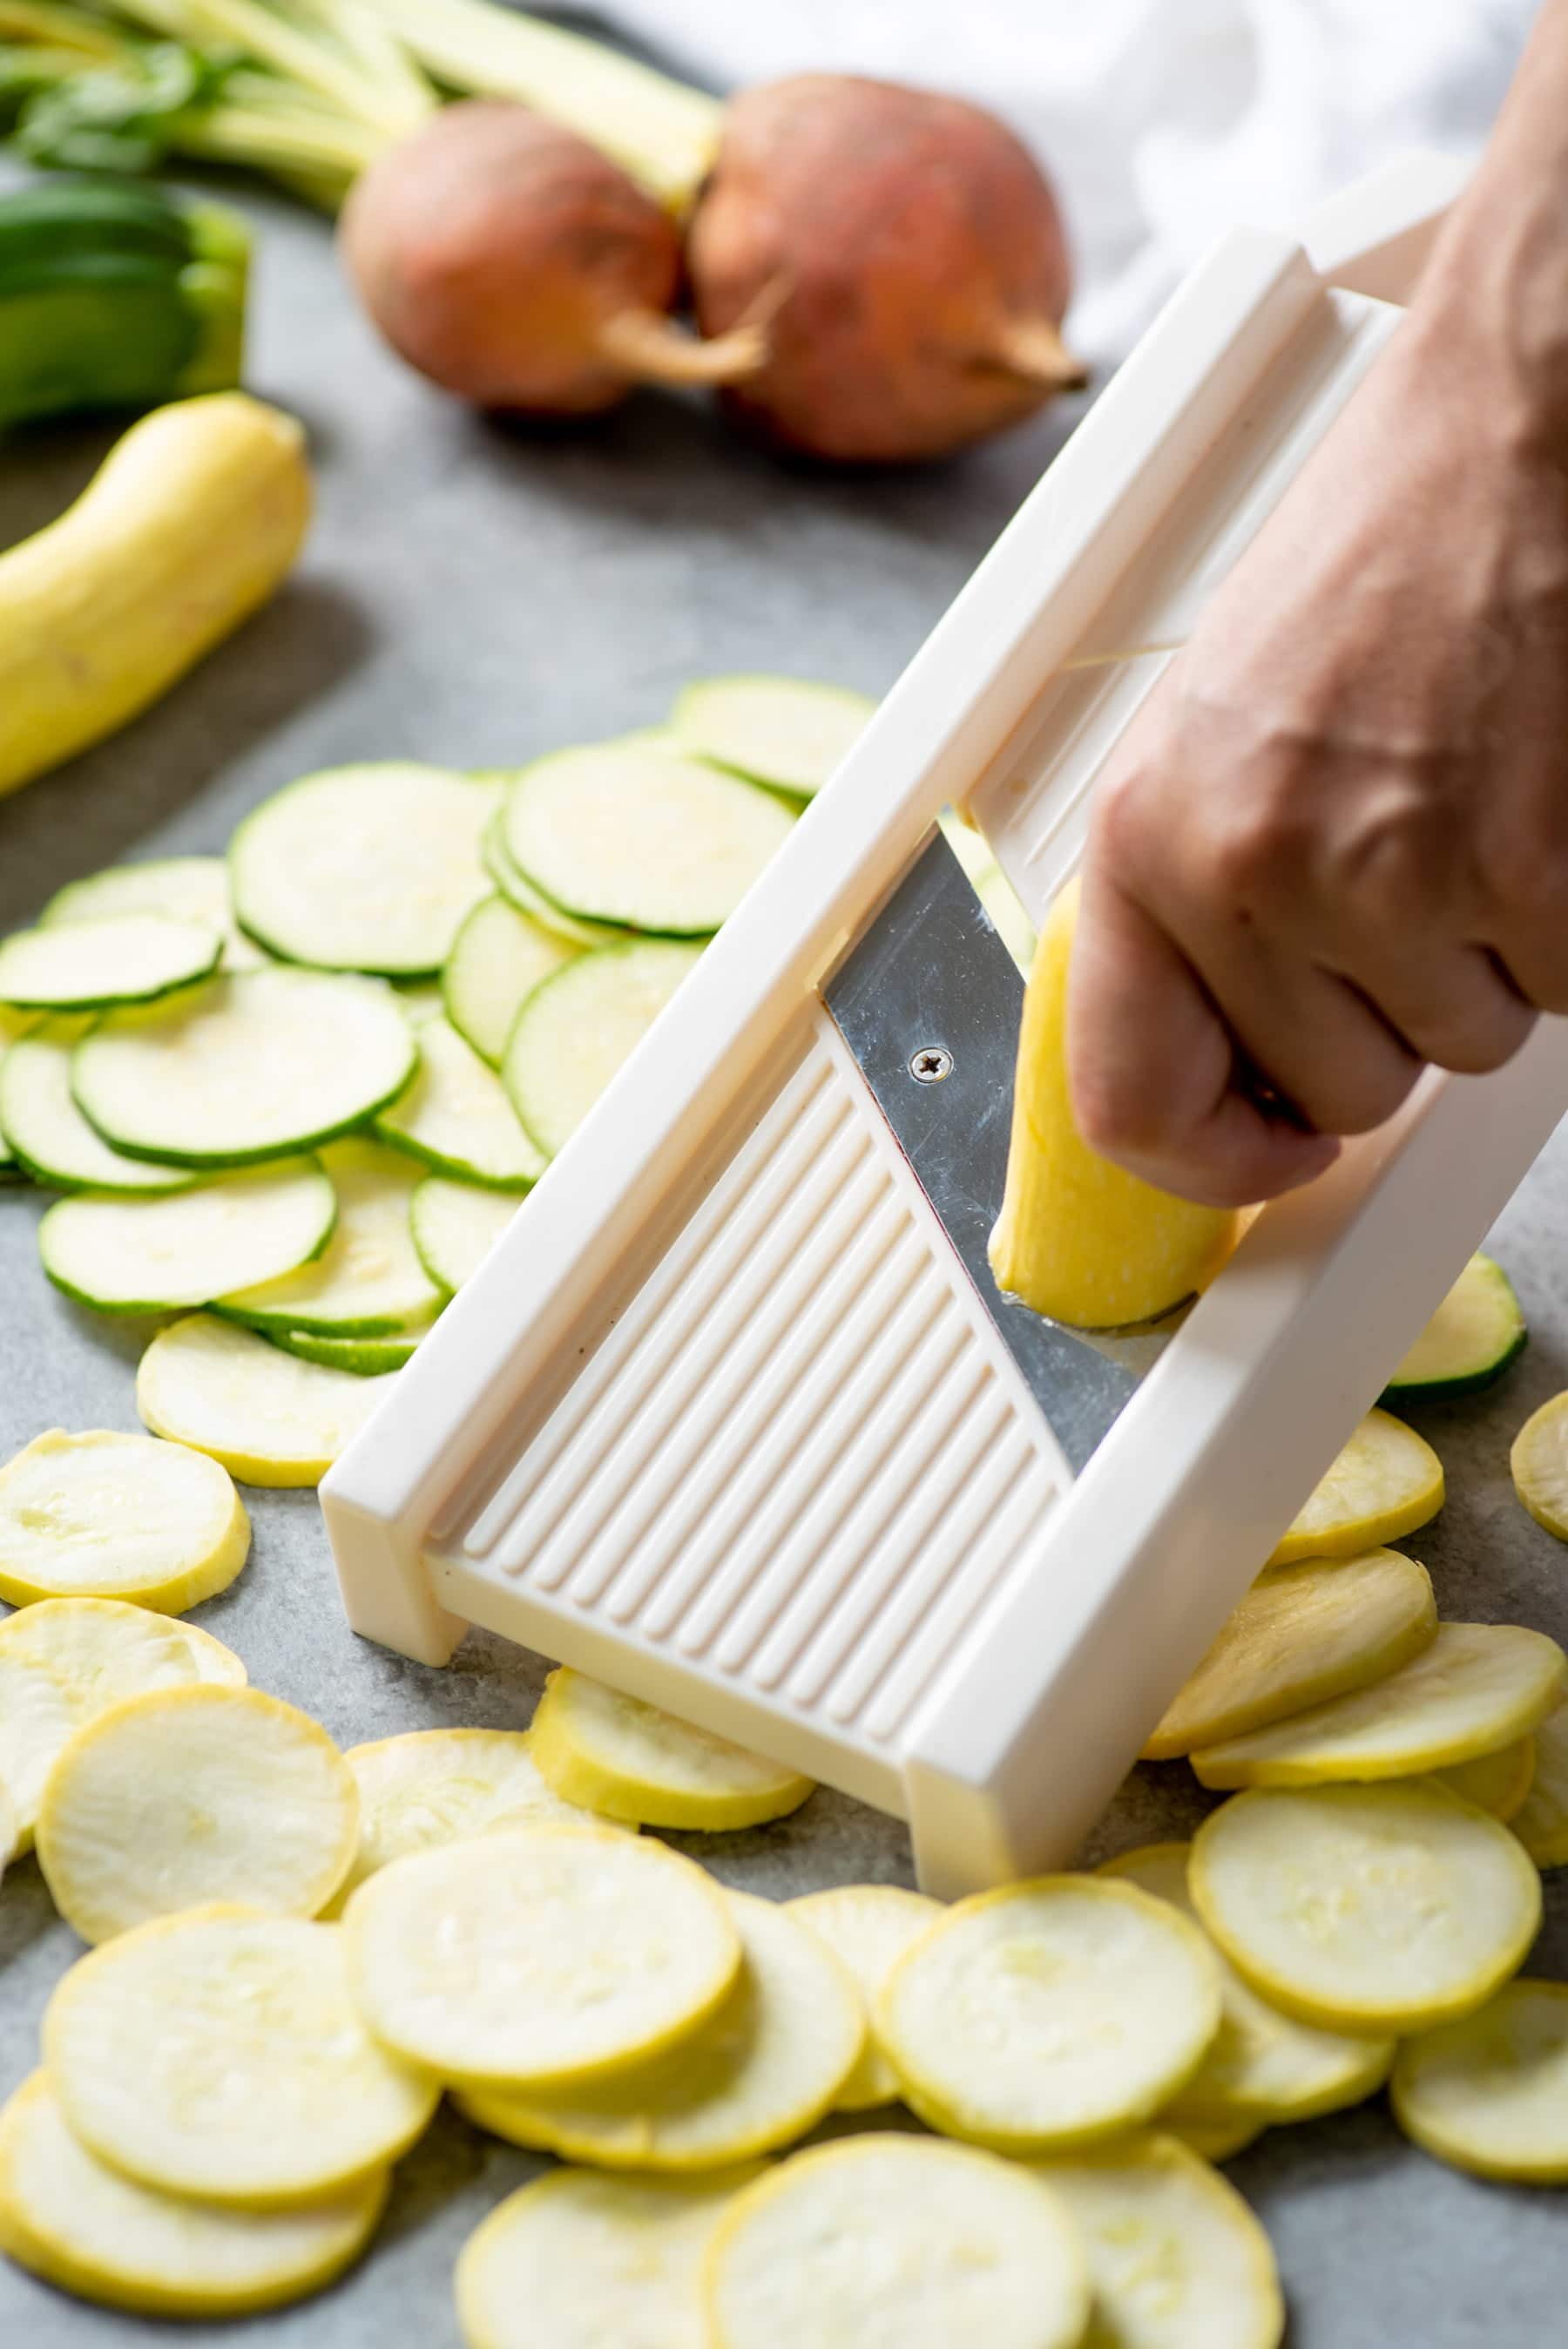
- Scrub clean vegetables, and then peel, if desired (I usually leave the peels on everything except for taro and rutabagas). Using a mandolin, slice the vegetables into thin slices.
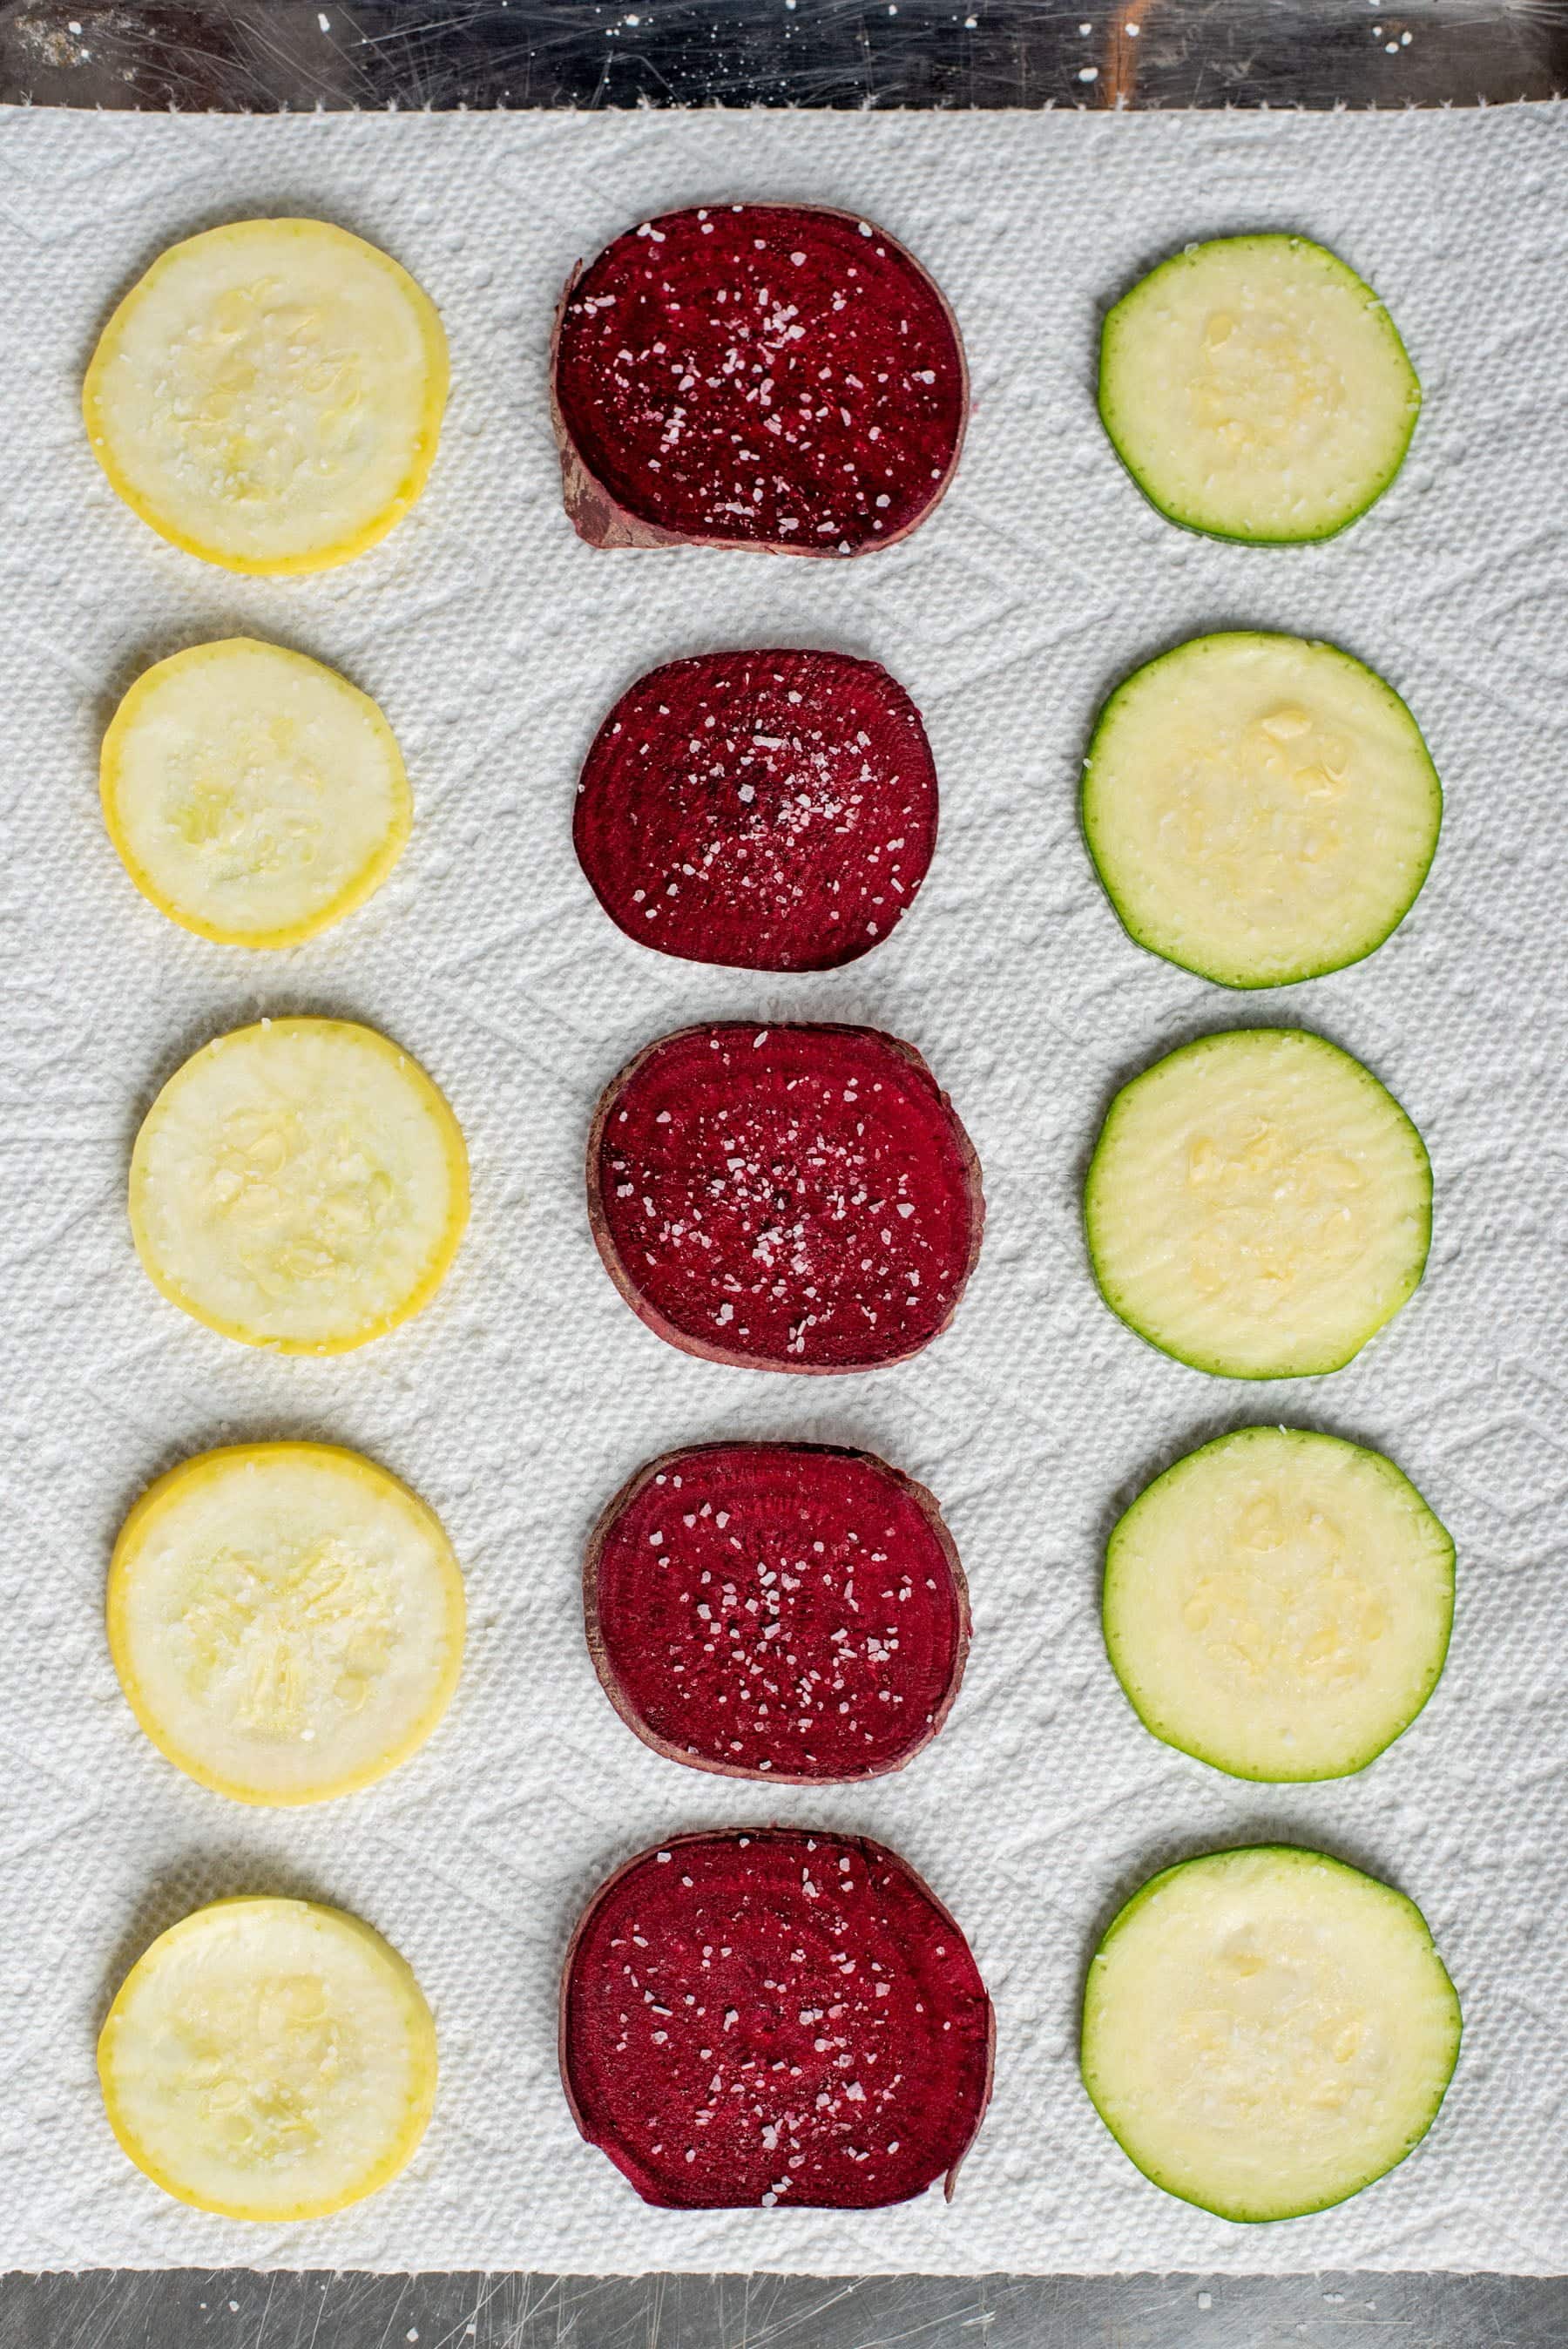
For Veggies with High Water Content (beets, zucchini, summer squash):
- Lay the veggie slices in one layer on paper towels. Sprinkle liberally with sea salt. Set aside and allow to sweat out excess moisture for 15 minutes.
- When 15 minutes is up, use paper towels to dab off the extra moisture. Transfer to the prepared baking sheets in one layer, then brush or spray with avocado oil.
- Place the baking sheets in the oven and bake for 15 minutes. After 15 minutes, rotate the pans (including switching racks). Bake an additional 15 minutes, then rotate again. Bake an additional 5-10 minutes, or until chips are brown and feel slightly crisp. Some chips might crisp up earlier than others—remove those as they finish.
For Veggies with Low Water Content (sweet potatoes, taro, rutabaga, white potatoes):
- Place the vegetable slices in a large bowl, add in enough oil to lightly coat all slices, and toss to coat. Make sure all sides of each slice are well-coated.
- Place the chips in one layer on the prepared baking sheets. Sprinkle lightly with the sea salt.
- Place the baking sheets in the oven and bake for 15 minutes. After 15 minutes, rotate the pans (including switching racks). Bake an additional 15 minutes, then rotate again. Bake an additional 5-10 minutes, or until chips are brown and feel slightly crisp. Some chips might crisp up earlier than others—remove those as they finish.
Notes
- You want to slice your veggies as thinly as the mandolin will go without the veggies being paper thin/see-through. On my mandolin, this is the second thinnest setting.
- All these chips will crisp up even more when cool, so don’t worry if they are a bit floppy still when you take them out. This is especially true with zucchini, summer squash, and beets.
Nutrition Information:
Serving Size: 1 cupAmount Per Serving: Calories: 79Total Fat: 0.9gSaturated Fat: .2gCholesterol: 0mgSodium: 151mgCarbohydrates: 16.6gFiber: 3.5gSugar: 6gProtein: 2.7g