I’m not sure what it is about our garden, but it consistently rocks the winter squash game. We don’t even have to plant seeds! Volunteer squash plants pop up each year all around our compost pile and give us some of the most beautiful (and tasty) squash—without a drop of effort on our part.
And the squash plants that we do actually go out of our way to plant and tend to? They produce a ton. It’s so nice to be able to count on a good squash crop each growing season.
(Can you hear me knocking furiously on wood? I would like this squash windfall to continue, Garden Gods, thankyouverymuch.)

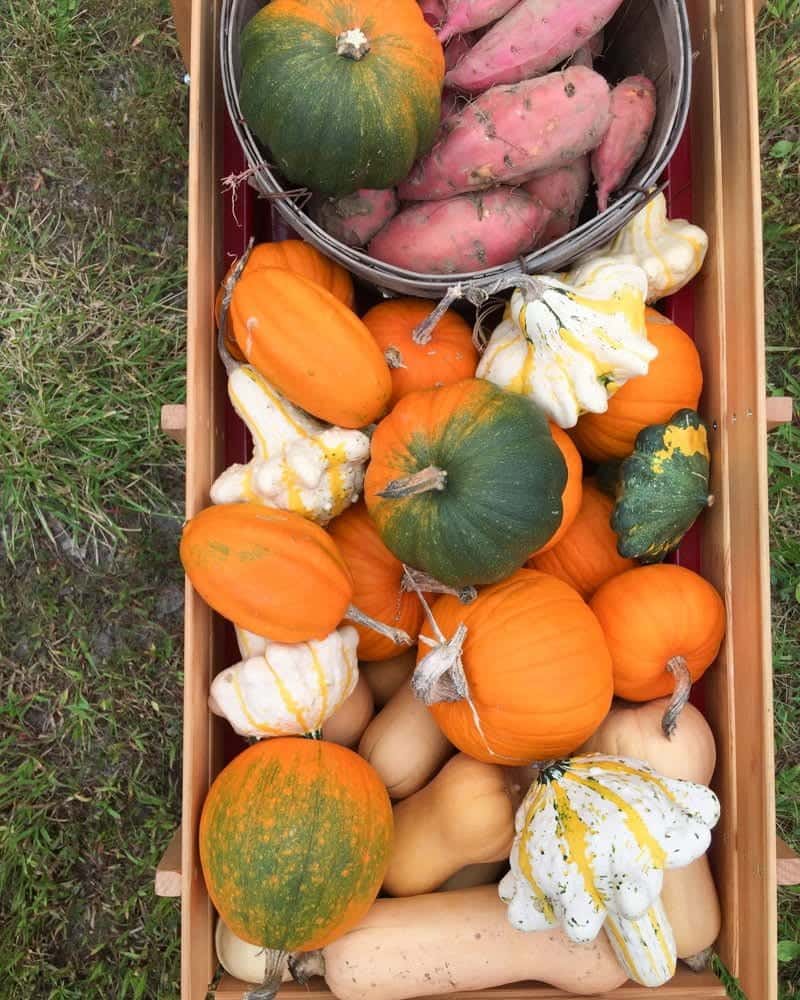
There are so many things to love about winter squash. They are tasty. They are mega healthy. They look beautiful on the mantel as fall decor. And, my personal favorite, they are storage rockstars. You don’t need a root cellar. You don’t need a basement. You don’t need a cold frame. I promise, even you, Ms. But-I-Live-In-A-High-Rise-In-The-City, can store winter squash in your itty bitty apartment.
I think winter squash are the perfect crop to get anyone started on food storage. With just a few prep steps and the right nook in your home, you can be eating on winter squash well into next year. Snag a few extra butternuts or acorn squash at your local farmer’s market this weekend and try it yourself.
Sort It
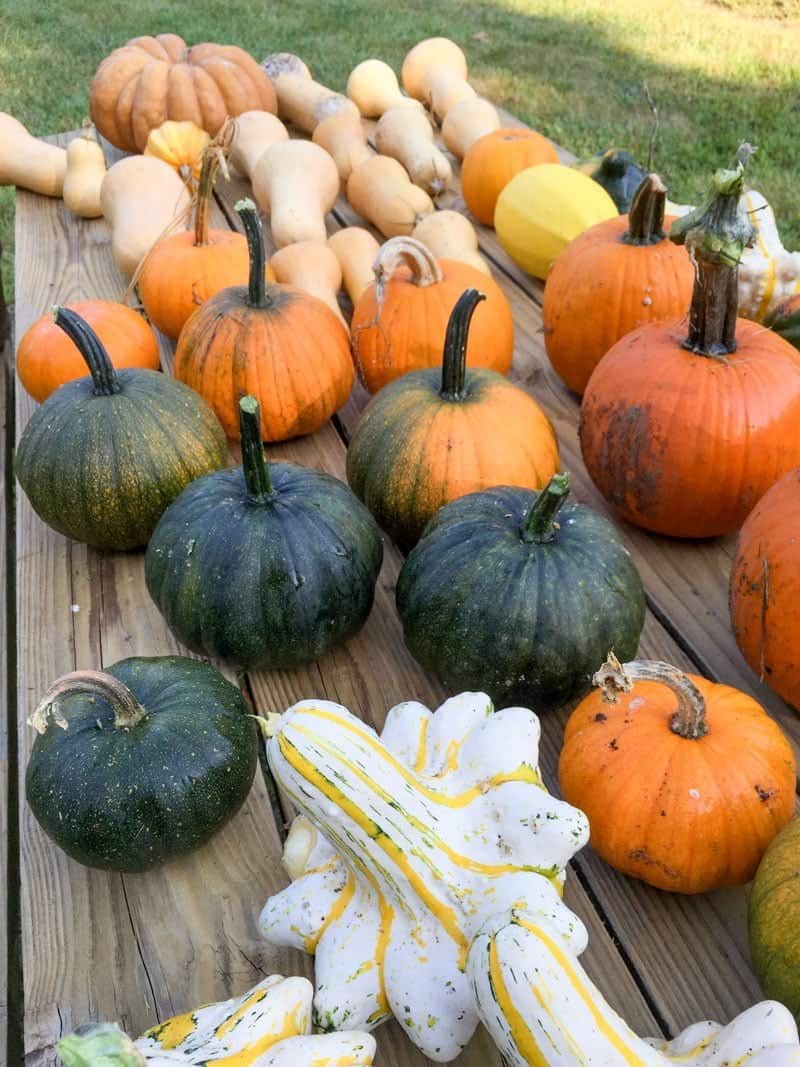
Not all squash are perfect for storage. Pick squash that have clean, unblemished skins. Squash that have intact stems tend to store better than one that have the stem broken off. You’ll want fully-mature squash. Save your storage space for the fully-grown, beautifully-tan butternut squash, not the tiny pie pumpkin that is still a little green. Any squash that have been through a frost or a freeze should be used relatively quickly—they won’t store a long time.
Cure It
When winter squash come off the vine in late summer, they are perfectly edible and delicious, but the skin is a little too soft and vulnerable to last through long storage. Enter curing. Curing is easy peasy – all you need is a sunny spot that is preferably dry (but a little bit of dampness won’t hurt anything).
Place the squash out in the sun in one layer on a flat surface for 7-10 days, rotating a few times so all sides get to sunbathe. Ours cure out on a wooden picnic table out in the middle of our backyard. We lost a few squash to curious chickens, but over all, it was a perfect spot for curing.
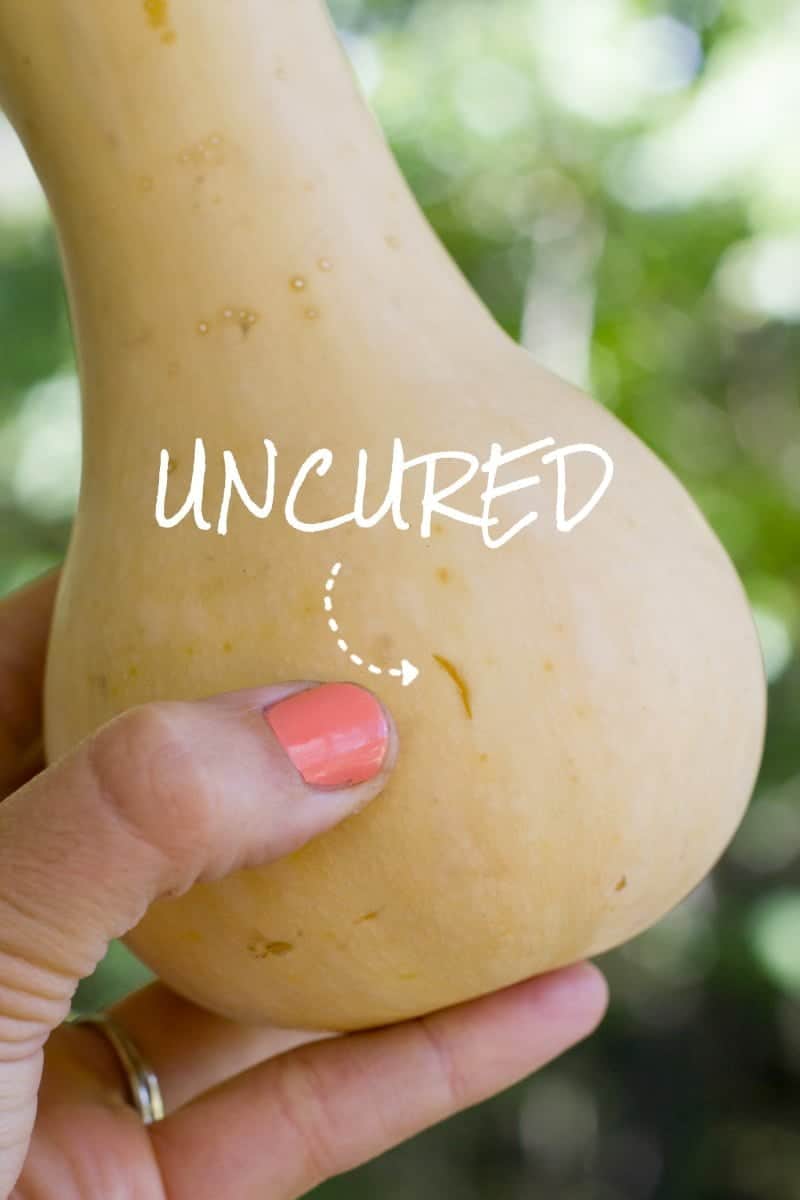
How will you know when your squash is properly cured? Well, when you press a thumbnail lightly into the skin of uncured squash, you’ll see a fingernail-shaped bruise—sometimes even a full-on cut. Do the same test with a properly cured squash, and you’ll barely even see a dent where your thumbnail was—the skin is thick, tough, and ready to last the winter!

The squash you pick up from the market or store might already be cured, so do the thumbnail test to check. If you don’t make a bruise, you can proceed to the next step without curing.
Wipe It

This is an optional step, but I’ve found I’ve had a lot more storage success if I don’t skip it. I use a light vinegar solution (probably close to one part vinegar to four parts water), and wipe the outside of all the cured squash. Why? Well, there are mold spores, bacteria, and other all-natural, but storage-killing critters on the rind. The quick wipe down kills a large chunk of them and really helps the squash keep longer.

The traditional way to do this is to do the wipe down using a bleach solution (much more diluted, think closer to 10-15 to one), but I like the more natural option of using vinegar, and it seems to work just find and dandy.
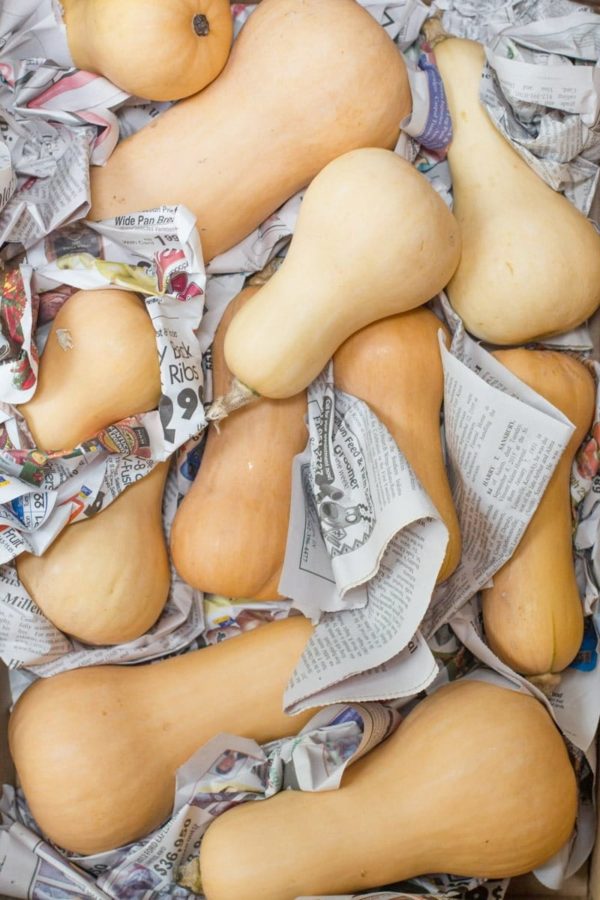
Pack It
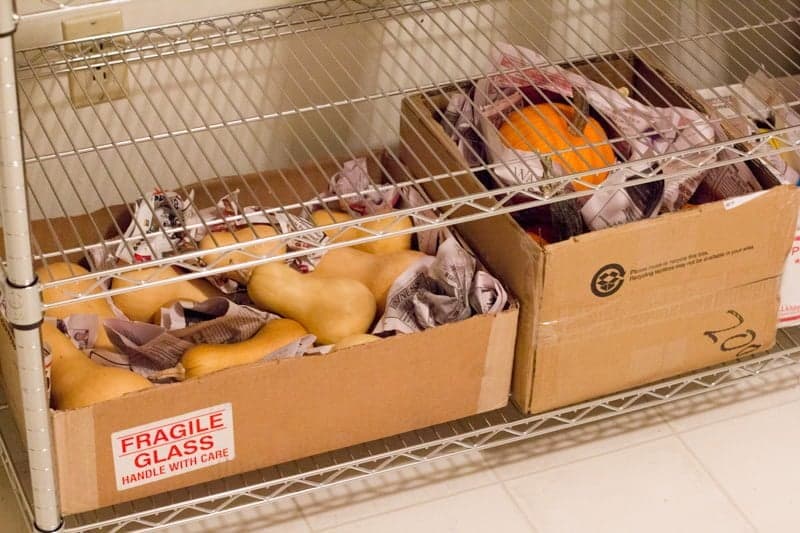
Each of our beautiful cured squash then gets wrapped very loosely in newspaper. For some storage veggies, you want a humid environment, but for squash, humidity is bad news. The newspaper helps keep air circulating around the squash and absorbs some of the humidity in the air.

Then the squash get packed into large, open boxes. Don’t shove them in too tight. You want the squash not to touch, and you want air to be able to move around. You can also use open air crates (think: milk crates), too, if that’s what you have kicking around. If you have particularly large squash you’re looking to store, you can also just place the squash on some flat cardboard on a shelf. Just make sure you don’t pack the squash too tightly on the shelf—air circulation is your friend!
Store Your Winter Squash
The absolute ideal environment to store winter squash is 55°F and 60% humidity, which sounds really specific, but most homes have a spot like that somewhere. Maybe it’s a closet on an outside wall? Maybe it’s under the bed in the basement guest room? Maybe it’s in an unheated enclosed porch?
While 55°F and 60% humidity is perfect—that’s what’ll get you the longest storage—you don’t have to be perfect. You’ll still get numerous months out of a spot that is warm and more or less humid. The one big rule with squash is to not go below 50°F—and certainly don’t let them freeze—warmer is better! With each few degrees warmer you go, you’ll lose some storage time, but you wont lose much quality like you would with the temps going lower. Even if you keep them at normal room temperature of 72°F, you’ll still get a few months of prime squash time!
We have a heated and insulated basement, but it still stays cool—right around 60°F in the winter. We store winter squash on the bottom shelf of a metal shelving unit (where it is even cooler) in our basement pantry. And it’ll last all the way to early spring, and sometimes even longer!
Use It

Inspect your squash every week or so. Any squash that are showing dark spots or starting to shrivel, move them up to “use now!” status—they’ll still be good to eat, but won’t last much longer in storage. Compost any squash that are rotting or collapsing.
And then make sure to actually use your stored squash! I have a bad habit of working so hard to store my food, and then totally forgetting about it. Don’t let the fact that your squash are stored in a rarely-used room keep you from putting your favorite butternut recipes on the menu. Enjoy your harvest all winter long!


About to harvest most of my Early butternuts today. Some still have green I can see.
Good article you wrote I like the Vinegar rather bleach….I don’t do bleach…..VERY RARELY
Storing in insulated pump house with fan blowing. Hoping it stays dry for next two weeks. At my maritime Pacific Northwest spot I have had 0.21 inches of rain 99 days and none predicted…..scary, should have rained by now. Ok thanks
Texas Bob
If I put the squash in the utility room where I have a water softener and got water heater .. Will they be good? I am wondering I guess about them absorbing anything from that room… It’s in the cool basement and since we lived in Idaho, the heater is electric and not in that room. Thanks!
Squash should be stored in a lower humidity environment, so as long as it’s not humid, it should be fine.
Great information, thank you for sharing. This will be my first year of storing my butternut squash. Your most helpful tip was not to let them touch. Thanks again! Patty
Happy storage!
Thanks, this is very useful. We are growing a large garden of spaghetti squash in southern Ireland. Spaghetti squash is our favorite (used to live in the US where it was in every market), but is not available here. Have seen walls covered with them curing in Malta. Our mild winters sound perfect for storage – frost is rare on the south coast and hard freezes never occur. I staggered planting so will get production into November. First harvest is out in the sun to cure (SE Ireland is known as The Sunny Southeast).
Glad it is helpful! Enjoy your spaghetti squash!
This was a great read for a 2nd year gardener and 1st year squash grower. Have daughters college milk creates. Newspaper ready, and vinegar on hand. Butternuts ready with acorn soon. Thanks again👩🏻🌾
Happy curing!
Great article!
This is a great post to read before spring and summer. I’m planning on growing lots of squash and was worried about storage. I’m not too sure I have a perfect space to store them but now I’ll be looking around the house for a good space.
Thanks!
So glad we could help!
I have a question about curing the squash. I’m in the midwest and our days are mid to high 80s, but the evenings will dip into the 50s for a few nights. Is it ok to leave them out on our porch for curing? Is it better to have a more consistent temperature, like an inside room with a window open during the day?
Hi Kelli, A more consistent temp would be better. And I am in the midwest but it must be a different area, because holy cow do our nights definitely not drop to the 50s right now. I wish!
I grow winter squash at an elevation above 3,000 ft. in N. Central Wash. and have found that August and September the flowers are nearly the sole source of pollen for bees- especially the large bumblebee. Nice site Cassie!